
The New York Institute of Art and Design offers an online jewelry design course and because we do, we like to provide free tips for aspiring designers. Enjoy!
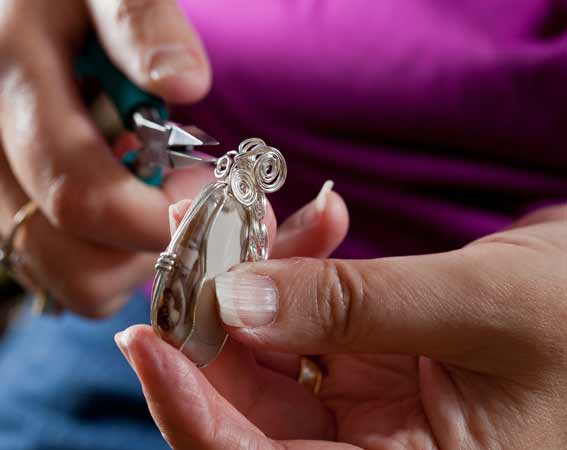
If you want to start creating your own handmade jewelry, making the perfect wire loop is one of the most basic, fundamental skills you’ll need to master. To get started, you’ll need chain nose pliers, round nose pliers, wire cutters and some wire. If you have those ready, here are 4 simple steps you can follow to practice your skills:
1. Using the round nose pliers, take the given amount of wire you’re looping and bend a small portion at a 90 degree angle, facing away from you. Then move your pliers to hold said bent wire by the opposite side.
2. Wrap the wire entirely around the round nose of the pliers to make a complete loop, and then hold onto said loop using your chain nose pliers.
3. Twist the wire around the base of the chain nose pliers several times, and then trim it using your wire cutters.
4. Push down the sharp edge of that freshly-trimmed wire using the chain nose pliers.
If you need some visual guidance through this process, try logging into the Online Learning Center to see a step-by-step visual guide and video tutorial.
Want to learn more? The New York Institute of Art and Design offers an online jewelry design course that can teach you how to create and sell your own unique line of jewelry. Request your free course catalog today!


